
Some notes on using nib pens to ink on paper. These are my observations only, and I wouldn’t call them rules, just stuff I’ve found handy. Happy to host more ideas if you can think of any!
Fresh nibs need to be readied for use – they will be coated in a thin layer of oil, you can clean it off with either warm soapy water or burn it (WITH FIRE!)
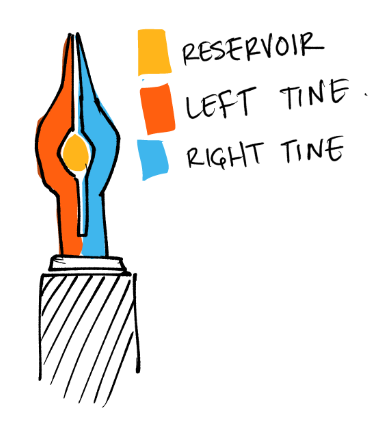
I’m heavy on nibs, I learn down hard, but you can invert the nib ( and lean on it a bit to get the original shape back – leaning hard over a while separates the two tines (see diagram) a fraction making ink lines a lot thicker. By inverting the nib and pressing down you’re closing the tines again and your line should be thinner.
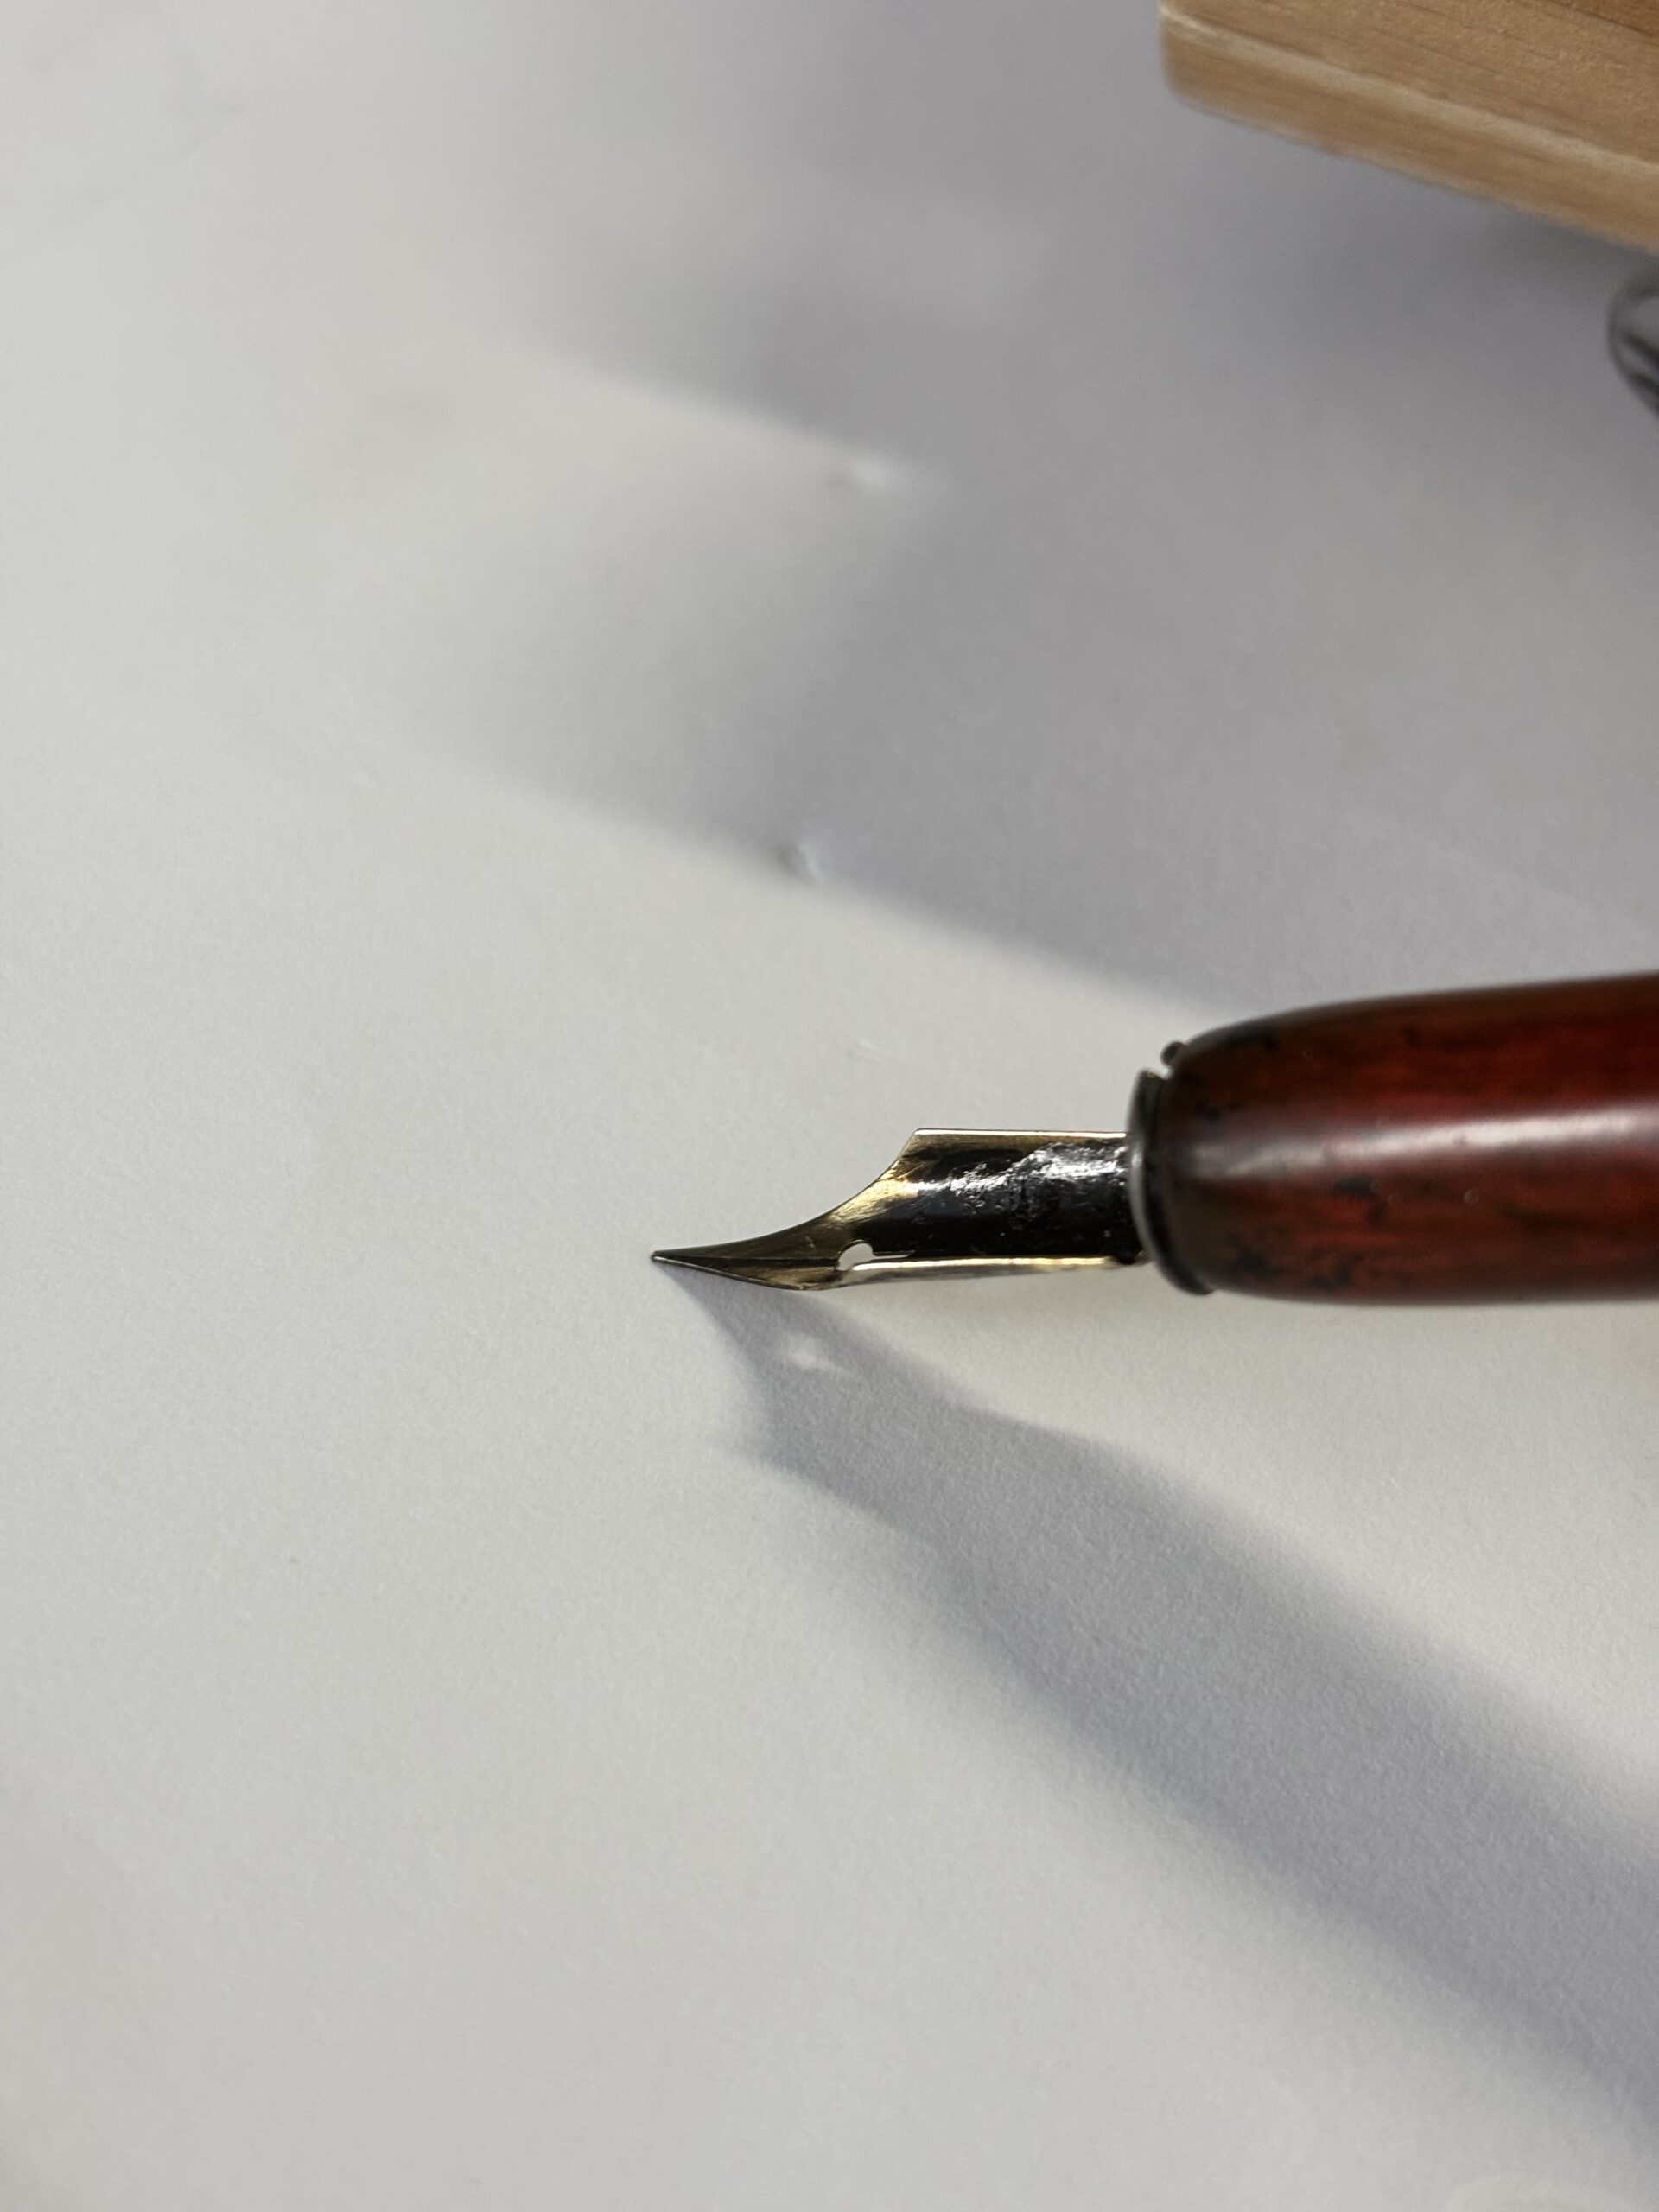
For me, I dip a pen until the tines have ink just before the reservoir, I do not fill the reservoir, I find if I do the ink is prone to leap out of the nib on its own when I’m moving the pen or blobbing on the page too easily.
Sounds obvious, but sometimes isn’t – if you’re right handed ink from the top left to bottom right (and vice versa if right handed). If the image is tricky to ink, rotate the page – in fact you may find yourself constantly rotating the page.
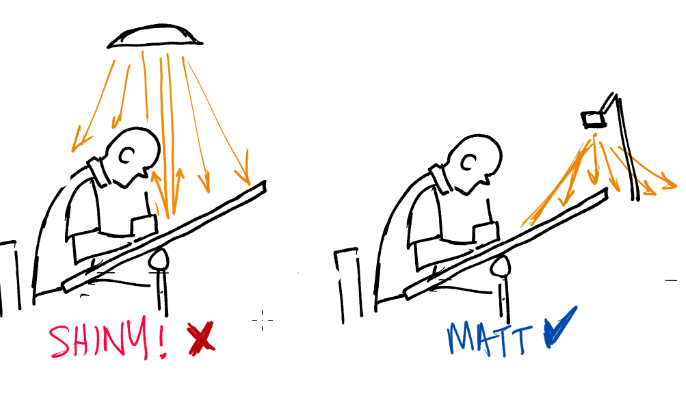
Lights! An overhead light is prone to reflections in the ink, this makes it slightly annoying seeing shiny black marks that are actually now reflecting white, BUT a light at an angle will not reflect ink that way – the reflections miss your eye, so you get a constant matt black from the ink.
If the room is too dark (I have a really good over head studio light, but it’s very reflective on black ink but my over the drawing table lamp is great for lighting the table but not much else) get more studio lights, just don’t turn on the overhead because even with multiple lights the overhead will still reflect off the ink.
Drawing straight lines with a ruler and a nib pen is easy – hold the ruler at an angle, and use the straight edge along one of the tines (ideally close enough to the nib holder that you wont smear ink along the ruler) and it’s best done with a metal ruler, simply when you press the nib against a plastic ruler the plastic may bend causing – making your straight line somewhat curved. (You can use a wooden one too, but given the abuse all my tools get in my studio, it’s likely a wooden ruler will survive)
Wait til the next day to erase any inked lines (ok, I never do, but give it as much time as you can!). And be especially careful on any blobs of black ink – even when dried they can smear.
On erasers, I love black erasers, they’re great at not smearing pencil – but be warned, I dunno what chemical stuff they’ve got going on, but after a few years of NOT using a bunch of black erasers, the black erasers have bonded with various plastic drawing tools – not just the erasers but the black eraser rubbings. And they seem impossible to shift. If you’re going to use them, and again – they’re better than white for rubbing things out, I’ve found – make sure to clear an eraser rubbings off any tools. Those things are deadly.
Been enjoying drawing on paper, I think I’ve also hit the point where I think of drawing on paper first rather than as a thing I’m returning too. I just have to sort out storage for all of these sheets of paper now.