So if you’ve followed along with the Blender basics, I’m now going to start to get into doing USEFUL stuff with Blender.
When I first started using Blender it was as a bridge to go from sketchup to clipstudio – I know a lot of artists take sketchup screengrabs and push them into clip studio, but I found having the 3d model in clip studio was a whole lot more useful.
Now, I find myself mostly grabbing 3d models from Sketchfab and then bringing those into Blender to ensure they’re the right scale and then going from there to sketchfab.
So, let’s talk about Sketchfab.
Sketchfab is a resource for buying and selling 3d objects, lots of those objects are free, and we’ll concentrate on those. First thing to do is create yourself a sketchfab account. Don’t worry – it’s free.
Once you’ve done that, we’re gonna grab one of the free models – here’s a link to a high poly 3d model of a spitfire (this model looks like a spitfire Mark IV – if you’re doing a strip with any war stuff, good idea to find the exact model if you can, if not, find the closest and modify it as best as you’re able)
This is available under a creative commons licence, which requires attribution – so if you’re going to use a model like this, you’ll need to acknowledge it. This isn’t always possible or practical to acknowledge in the pages you use it in a comic, so I think as long as you acknowledge it on some sort of behind the scenes page that’ll be ok.
This model is available in a number of formats – when you go to download it you’ll be offered the following:
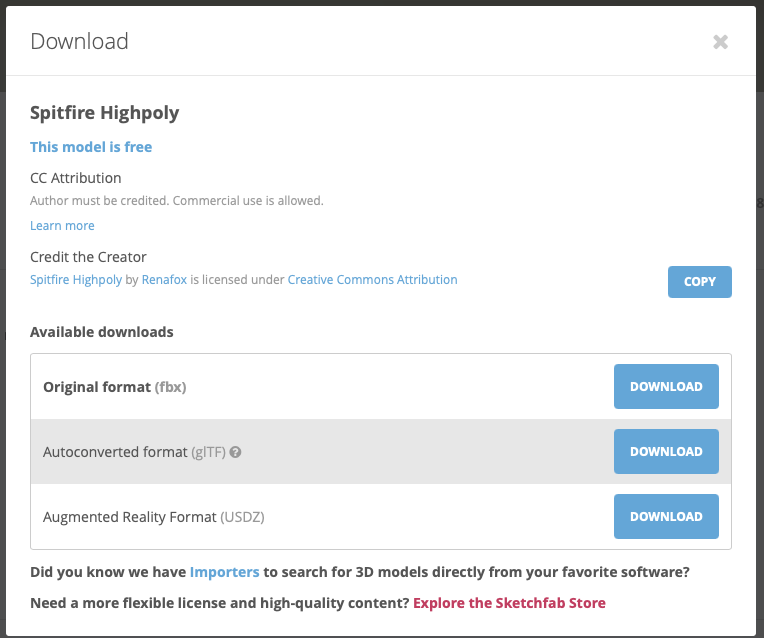
As much as possible it’s usually best to grab things in their original format, FBX and OBJ are compatible directly with Clip Studio, FBX offers more versatility (where you can rotate individual parts of a model) OBJ offers less chance of cocking up (as an OBJ object in clip studio is one model with no individual parts so you can’t move things by accident!)
As we’re using Blender as an intermediate step, if it’s available, I go for FBX – BUT I always prefer the “original format” (ie the format the person has uploaded it in) converted formats can tend to introduce errors.
This model downloaded as a folder called “Source” with the file “spitfire2_high.fbx” inside it. I like to grab the folder and model and move them from the default download folder to a folder called “3d Library” where I keep all my 3d files. I’ll further move this to a folder called “planes wwii” (or even a project directory) and rename the “Source” folder as “spitfire mark iv“

Once you’ve downloaded the fbx you can fire up Blender!
Blender, remember will start up with the default cube. Which we’re going to keep for the moment (you’ll see why in a second). It’ll also start with a default Camera Object and a default light, if you want you can delete those or just ignore them – it’s immaterial for what we’re doing.
Now we’ll import the spitfire into blender – using file -> Import FBX
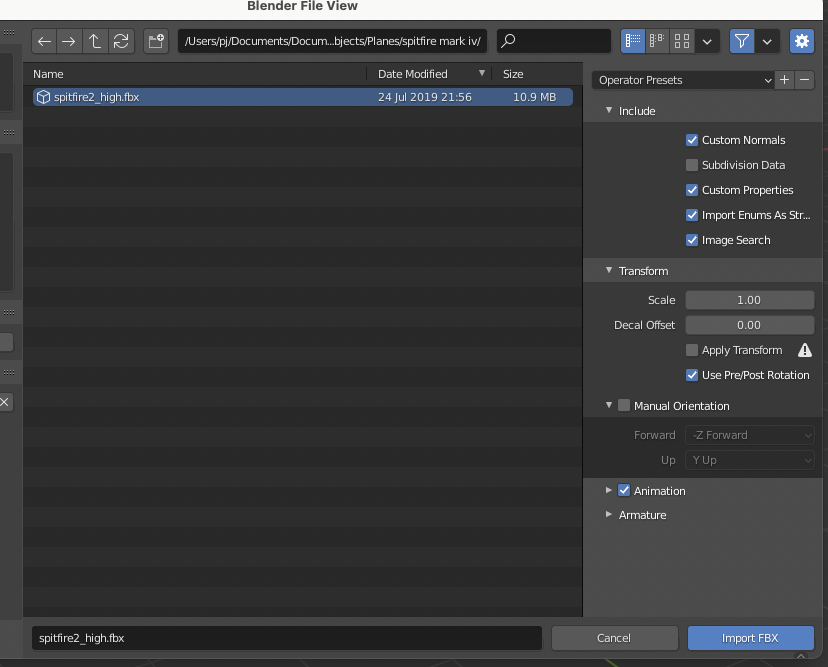
Spitfire Imported and sort of sitting on top of the default cube!
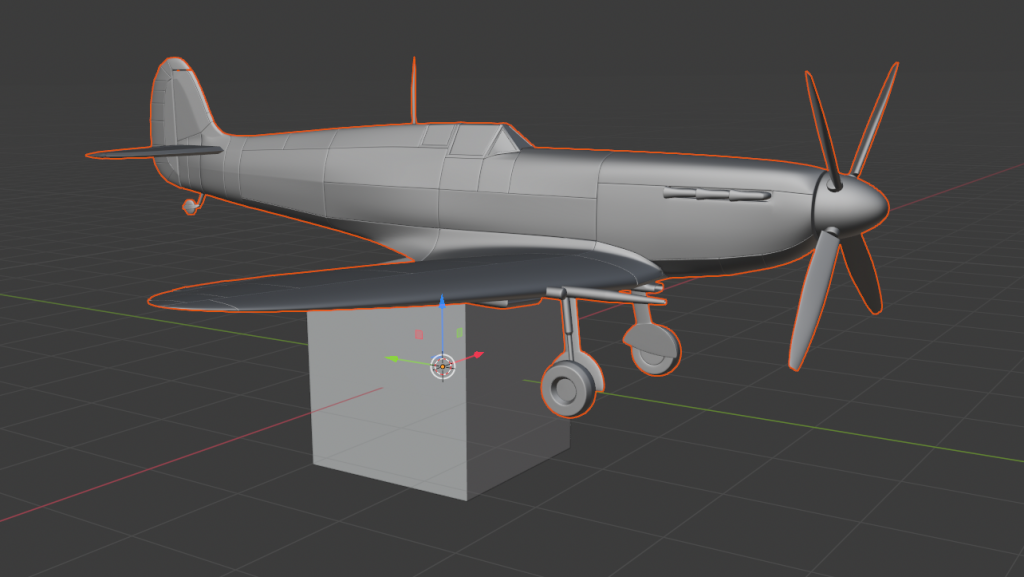
First thing we’re going to do is make sure the spitfire is scaled correctly – it likely is, but sometimes you’ll get models that are accurate but imported at massive or tiny sizes.
The way we’re going to do this is ask google (to ask wikipedia)
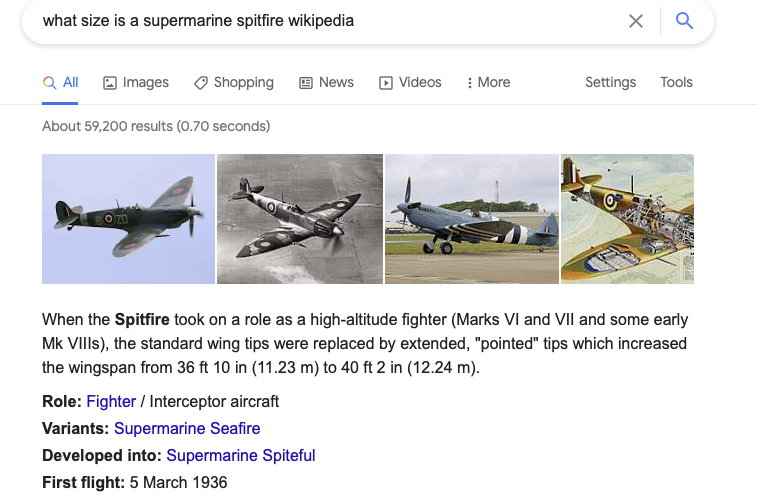
So, important figures – and remember Blender uses Blender Units, but we’re going to consider 1 BU = 1 M, so all sizes in Metres…
Wingspan (ie the X across width) 11.23-12.24M (depending on the model, but for our purposes we’re gonna go with 12.24 – this doesn’t have to be on screen accurate)
Now, we’re going to scale our Blender cube to be exactly that wide – 12.24 – we do that by selecting the cube (just click on it and it’ll highlight with an orange outline)
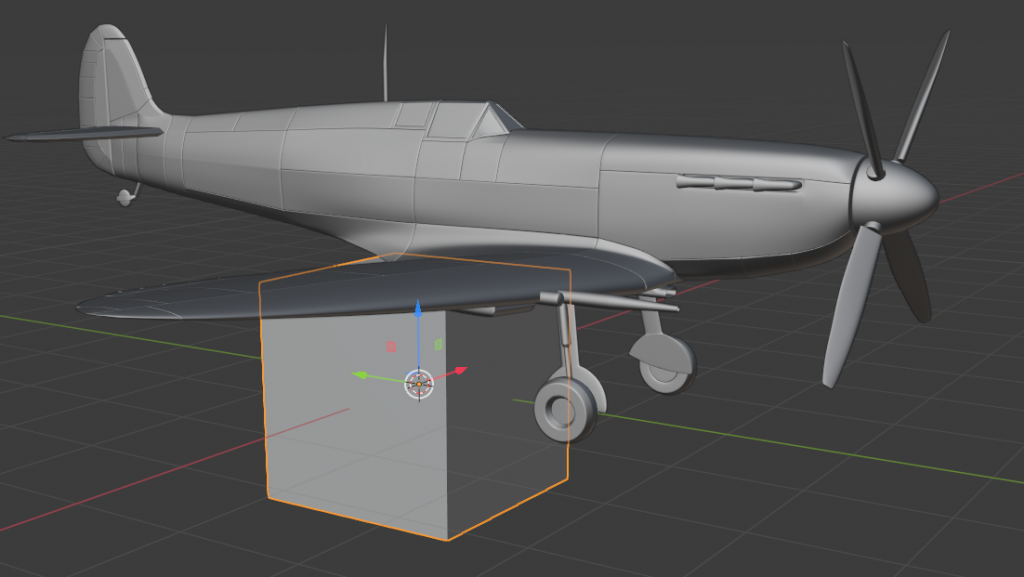
Press N which will pop out the little object properties screen tab.
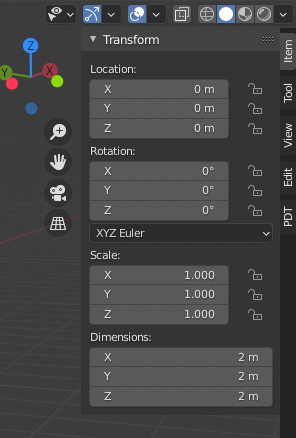
And where it says “Dimensions” we’re going to change the X axis to 12.24
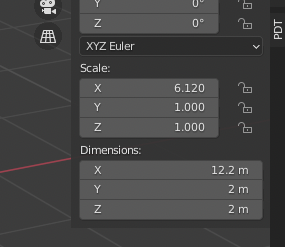
Now, the cube is as wide as the widest spitfire and we can check our spit to see if it’s close enough…
You can move the angle of the entire blender scene by holding down the centre mouse button and dragging, go on – it’s fun!
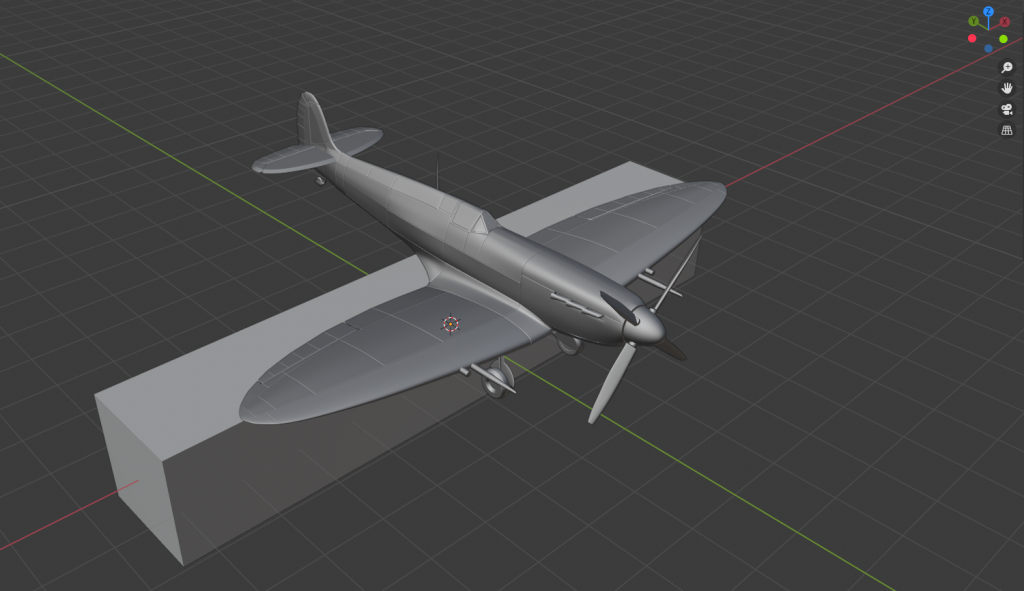
If you prefer a more accurate view you can press the little axis on the circled Z to get a top down view
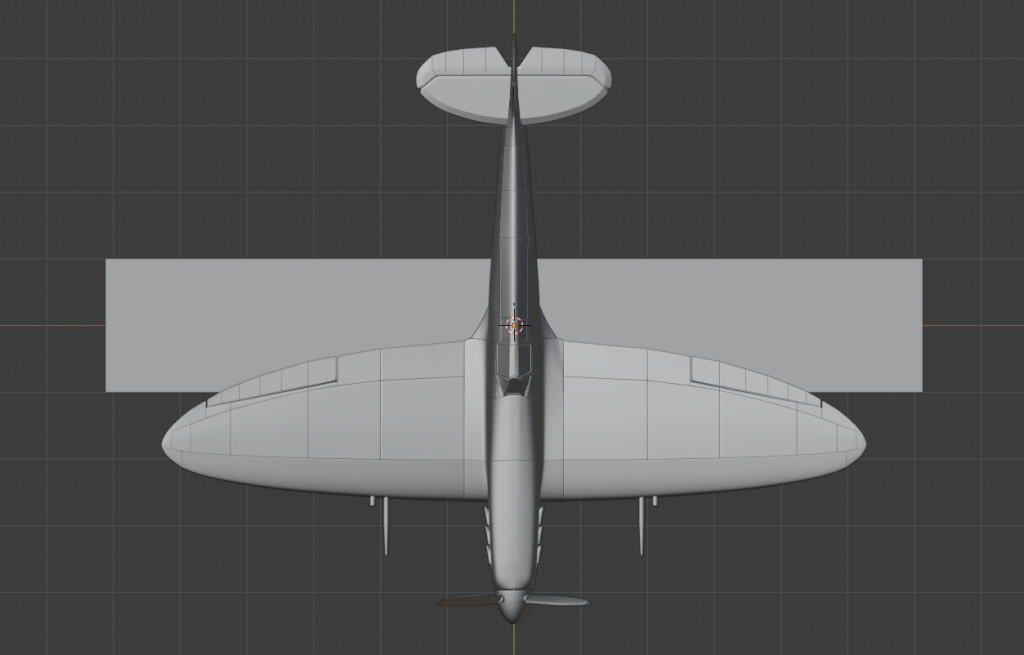
Ok, checking it here it looks like our spit probably IS about right for the model, but for the sake of completeness we’re going to scale it to match the width, we do that by – still in top view, selecting the spit (until it highlights orange) and press S to scale – as we’re viewing TOP DOWN it will scale XYZ of the spitfire and you can scale it until it roughly matches the width of the cube.
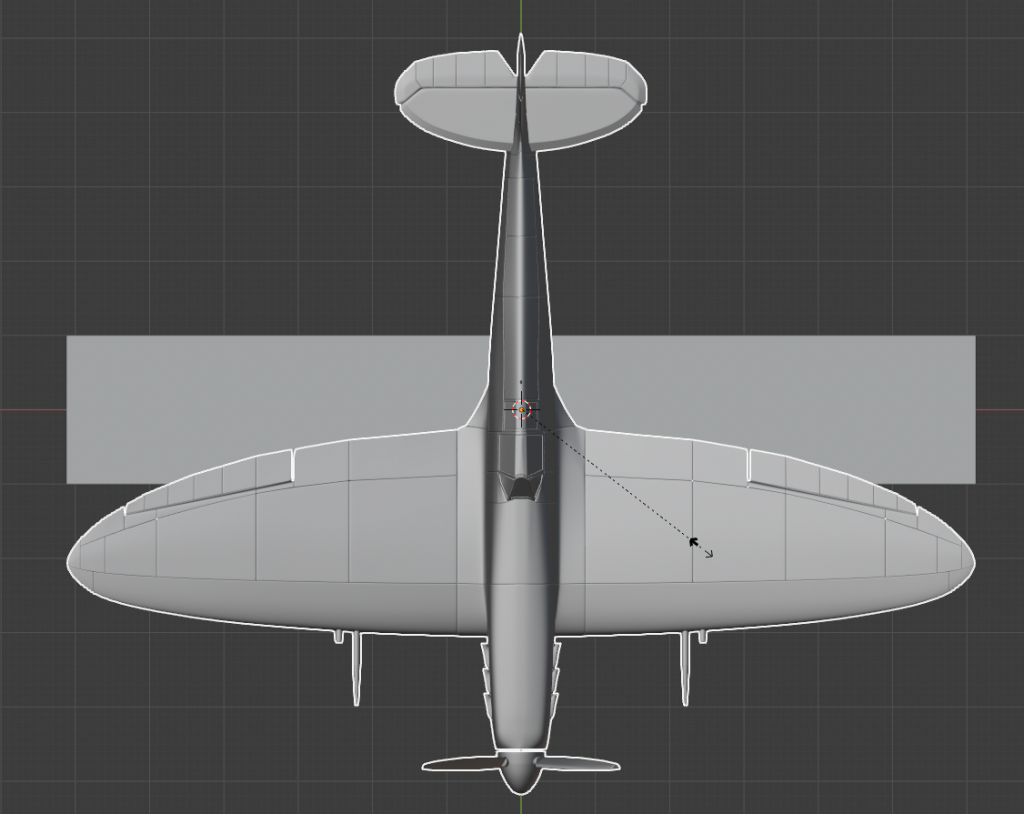
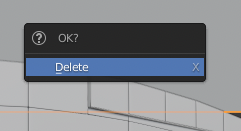
Now we’ve scaled the spit, let’s get rid of that stupid cube. Select the cube and press the X key – this is Blenders Delete key.
If we click X on the navigator (the set of axis in the top right – if Blender has a name for this doodad I can’t find it…) we’ll get a side view of the spit -(when you switch to side/top/bottom views blender stops showing you the object in 3d perspective and switches to simple side/top/bottom this is super useful when you want to see floor plan like views of your objects)
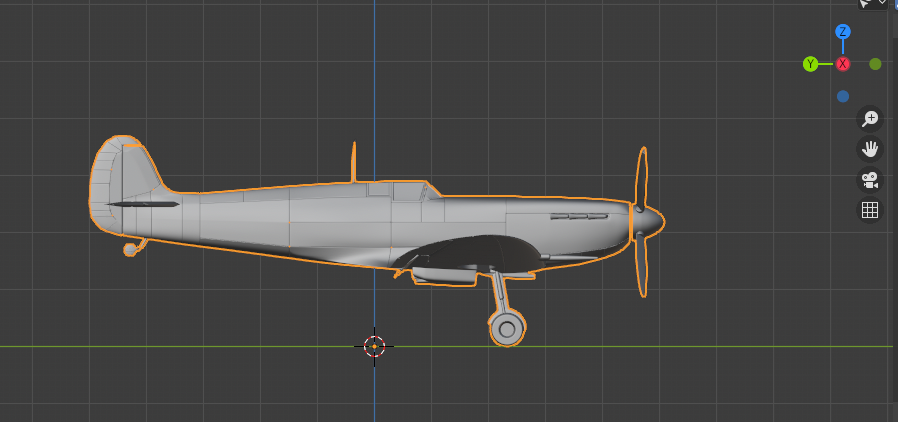
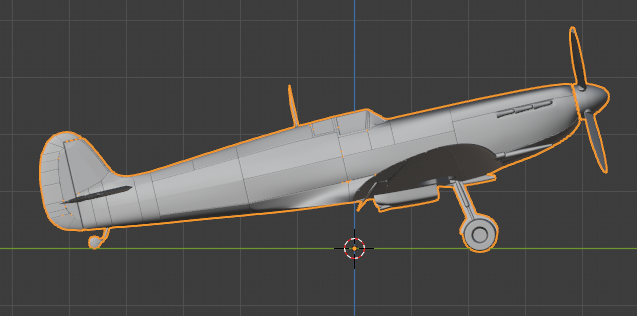
Now, this spit is clearly in a landed position (wheels down!) so we’re gonna rotate it a little to make it more like it’s landed – the weird target in the middle there, where the lines intersect is actually THREE things, it’s the 3d Cursor (imagine a word processor cursor, it’s pretty much the same), the origin point of the world (0,0,0) AND the origin point of the spitfire – in other words any transforms, scaling, rotation, movement, happen to that point and the spit sort of moves around it.
We’re aiming for this…
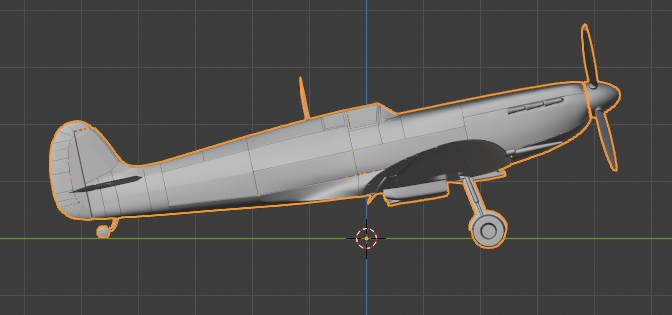
This is a rotated and ready for lift-off spit, but to get there we need to do a few things. Let’s start by rotating – ensuring we’re in side view we press R to rotate and rotate the spit until you get something like this:
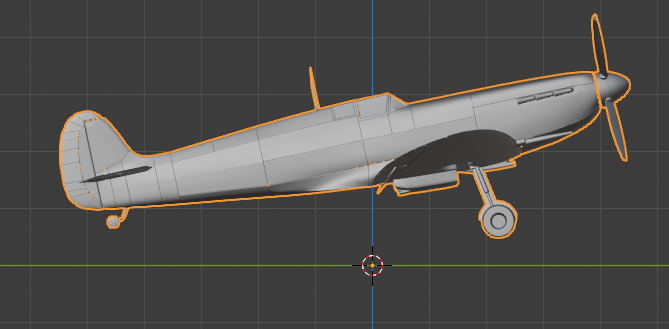
The green line below the spit where the cursor sits is the ground and though our spit is now rotated exactly into position, it’s floating above the ground, so now we need to move it down a bit.
Press G (for grab) and you can move the spit, but if you press Z while you’re moving, the movement is locked on the Z axis (remember, that’s up and down)
So we can move it by press G Z and just inch it down like this:
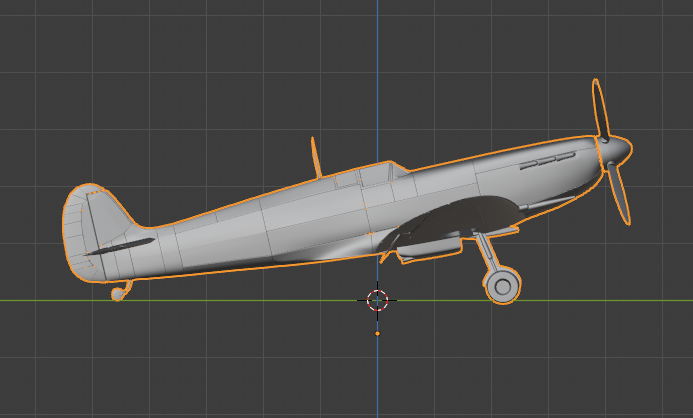
If your wheels don’t hit the ground perfectly, don’t panic! you can complete the move by clicking the mouse and then rotate it a little. Keep doing that until you get it right!
Now, you’ll spot a little orange dot below the spitfire, this is the spitfire’s point of origin, as mentioned previously. If you import this into clip studio, clip will use that point as the ground floor and you’ll end up with a spitfire still hovering. So to fix that, we’re going to move the point of origin for the spitfire to the 3d cursor (the cross hairs)
We do that by right clicking on the spitfire, selecting “Set Origin” and “Origin to 3d Cursor”
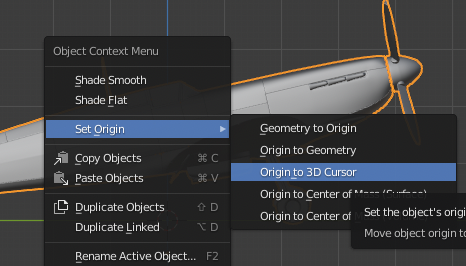
At that point you’ll have this
Ok, now two things: first, so the work isn’t wasted let’s save a BLEND file – this is blenders file format and will allow us to get back to this.
File->Save and give it a sensible name, I’ve called this “Spitfire-Mark-IV-Landed.blend“
Save done, let’s export this into clip studio…
Select file->export->Wavefront (.obj) file
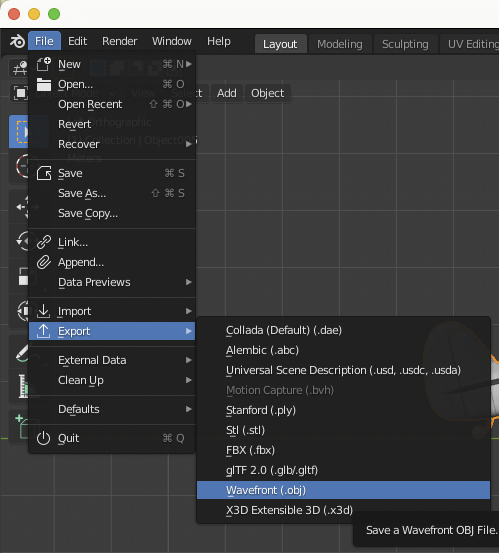
By default the filename will be the same as the blender name but with .obj instead of .blend
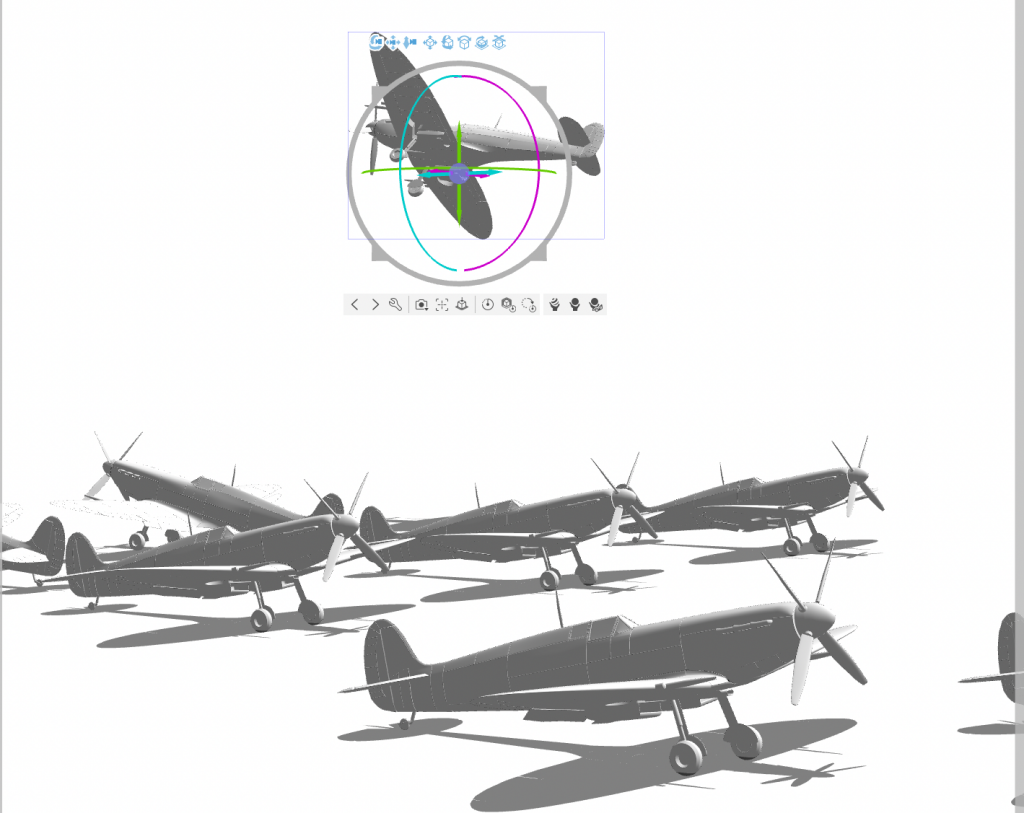
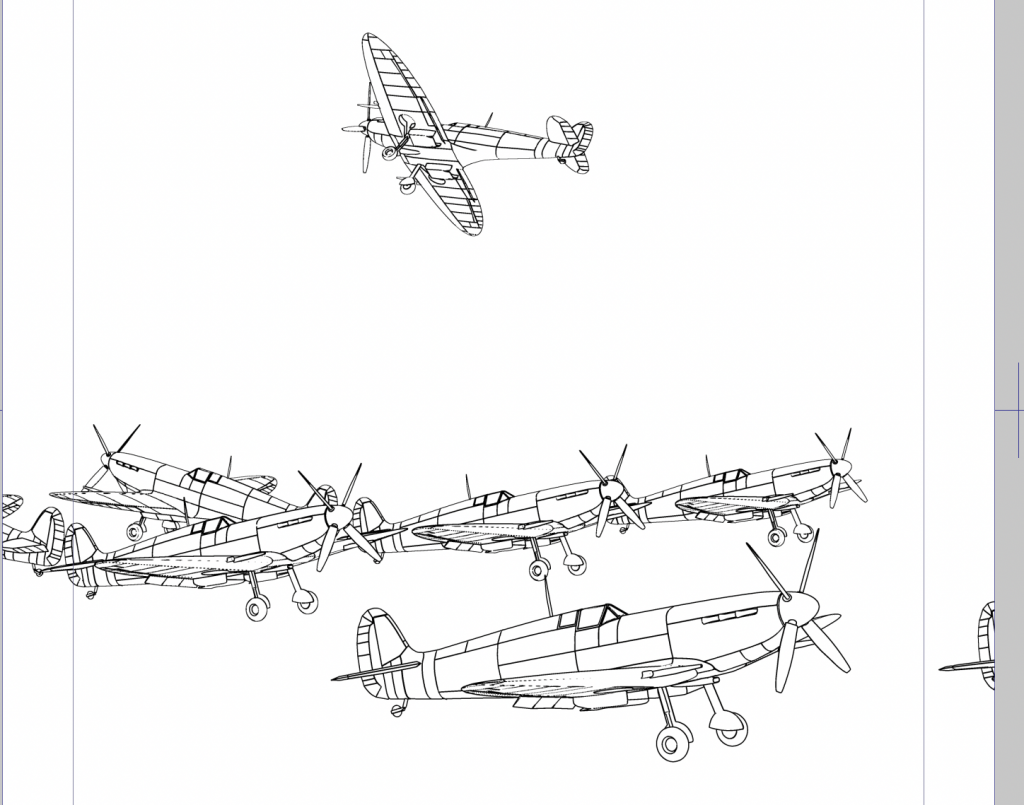
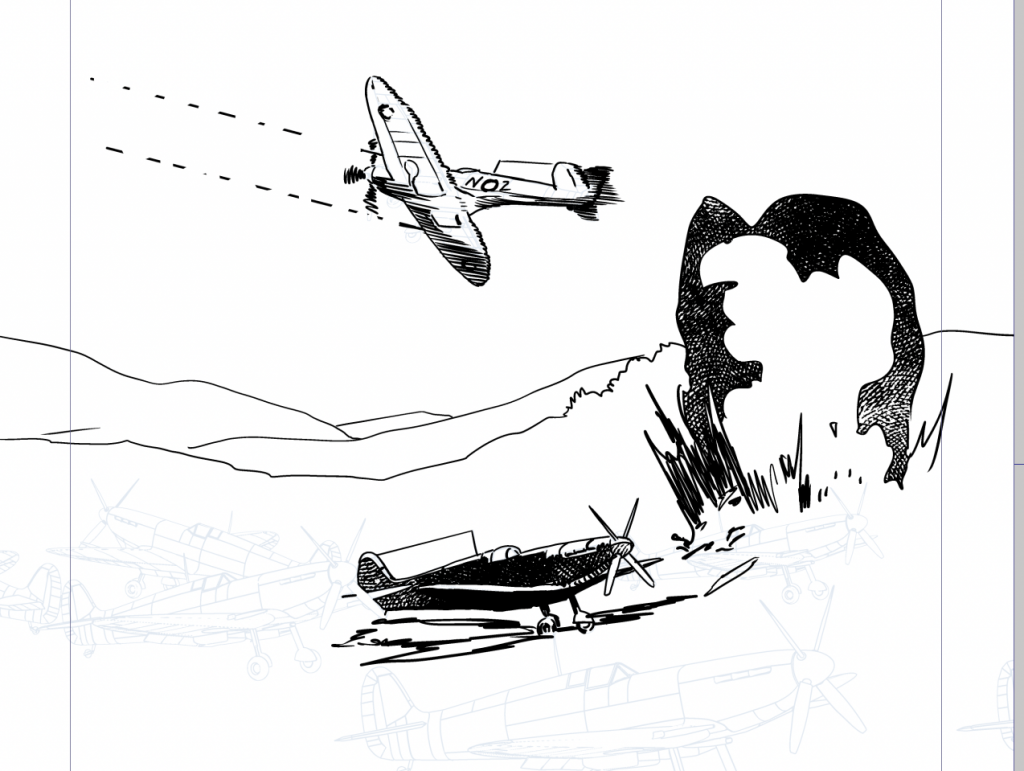
And we’re ready to bring that into clip studio. But since this post is long enough, that’ll do for now. If you fancy you can just import the spitfire into clip studio, but in my next post on the subject, I will cover the basics of working in 3d in clipstudio…
COME BACK ON FRIDAY!
FOR THIS:

